The last video I posted featured a multilayered stencil and it got me so inspired, I decided to try my hand at one myself! And so we both benefit, I took lots of pictues so we could both learn.
Materials:3 copies of your desired image preferrably printed on a thick cardstock, photo paper (that's what I used), or a transparancy sheet (that would probably work best)
Sharpie or pen you can mark with
X-acto Knife
Cutting Mat (or something you can cut on so you won't damage your furniture or blade)
Canvas or surface to spray your image on
4 cans of different colored spray paint (I used Raspberry, White, Black, and Primer)
Spray Adhesive
Old newspaper
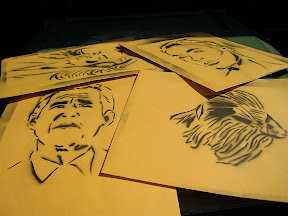
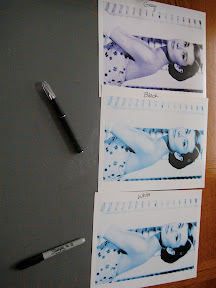
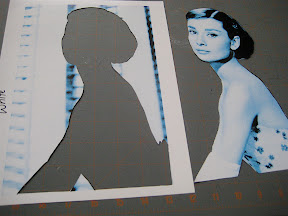
Instructions:Select your image and print it 3 times. For some reason, my printer printed it out in weird colors (as if black and white wouldn't have been easier for it...) It also was being a little wierd on the quality, so I chose the darkest one for the "gray" stencil, the worst quality for the "white" stencil, and the last for the "black" stencil. Then I labeled them with my trusty sharpie so I wouldn't get confused or forget which was which.
For the white stencil, cut out a sillouhette of your image. You may find it easier if you trace the image with your sharpie.
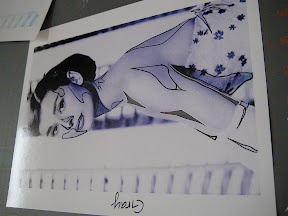
For the black stencil, cut out the darkest parts of the image. (Like the eyes, hair, nostrils, etc.)

I saved the gray stencil for last since it requires a little more thought than the other two. For this one, I definitely recommend using your sharpie or marker to outline the darker shadows to cut out. It also helps you see if you like the look of your stencil before you regret cutting some of the pieces out.
Now for the fun part, spraying your image!
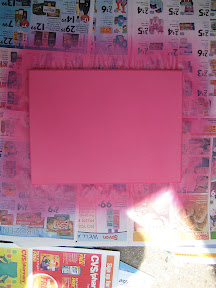
First, lay out your newspaper and center your canvas on your scrap paper. Then, spray your background color evenly on the canvas/surface. I did two separate coats so it was more even.
 Always make sure that your paint is dry before you move on to the next step!
Spray a light coat of the adhesive on the back of your stencil to avoid overspray (or underspray!) You'll get cleaner lines if you do this step. I lined the bottom left hand corner of the image with the bottom left hand corner of the canvas so it would be easier to line the other two images. When the white coat is dry (and make sure it's completely dry!), align the gray stencil exactly where you aligned the first stecil, then spray the gray coat. (sorry, I forgot to take a picture of the white coat...)
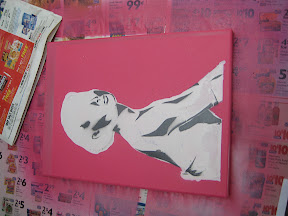
See that overspray on the top of the canvas? You definitely want to use some cardboard to cover any parts of the canvas that you don't want to be colored. Or you can tape some scrap paper to the edges of the stencil incase that happens. I was lazy so I didn't do that.
Now for the black stencil, do exactly what you did for the first two stencils.
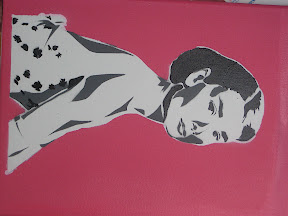
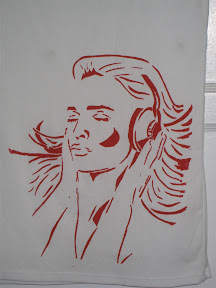
All done!